
How to Reverse Sear a Steak: The Complete Guide for Grill, Smoker and Oven
Steakhouse crust. Pink from edge to edge. One number to hit.
Every steak lover wants the same two things, and they fight each other. A dark, crackly crust needs ferocious heat. A pink, even center needs gentle heat. Cook hot the whole way and you get a band of gray, overcooked meat under the crust. Cook low the whole way and you get a perfect interior with a pale, soft outside.
The reverse sear ends the fight by doing one job at a time. You bring the steak up slowly over low, indirect heat until it is almost where you want it, then you hit it with everything your grill has for about a minute a side. The crust happens last, so it reaches the table still crisp, and the inside is the same color from the crust to the center.
This guide covers every decision in the cook, plus the parts most reverse sear guides skip: exact setups for a charcoal kettle, a gas grill, a pellet grill, a kamado, a smoker and your oven, a side by side look at every way to sear, and the troubleshooting we learned the hard way. Here is the plan:
- What the reverse sear is, and why it beats the classic sear for thick steaks
- Which cuts and thicknesses work (and which do not)
- Dry brining and seasoning in layers
- Pull temperatures for every doneness, plus timing by thickness
- Cooker by cooker setup
- The sear: grates vs cast iron vs flat top, and which fat to use
- Resting, slicing, sauces, and 10 mistakes to avoid
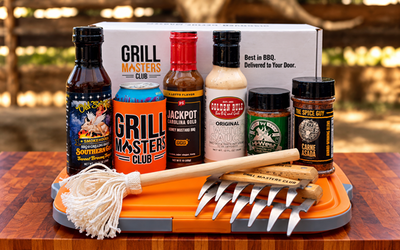
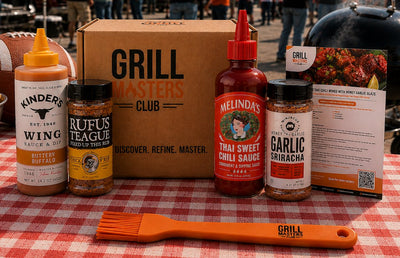
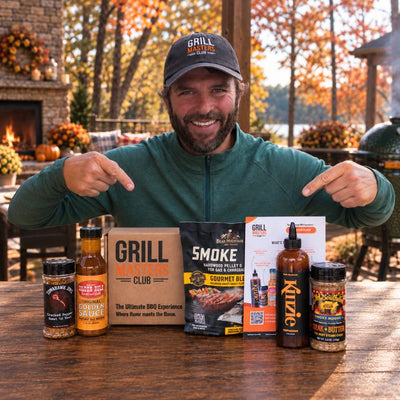
Want every tool and seasoning for this cook in one box? The Upper Crust Steak Box has the instant read thermometer, a wire dry brining rack, wagyu beef tallow spray, Livia's Salt Pepper Garlic, two steak rubs and a steak sauce. Everything in this guide was built around it.
The short version
- Pick a steak at least 1.5 inches thick.
- Dry brine it: salt every side and leave it uncovered on a wire rack in the fridge for 12 to 24 hours.
- Cook it on the cool side of the grill, a smoker or a 250°F oven until the center reads 115 to 120°F for medium rare.
- Pat it dry, mist it with beef tallow, and sear over the hottest heat you can make, 45 to 90 seconds a side, flipping often.
- Rest it a few minutes, uncovered, then slice against the grain. It lands at 130 to 135°F, medium rare from edge to edge.

What Is the Reverse Sear?
The classic steakhouse method sears first and finishes in the oven. The reverse sear flips that order: slow cook first, sear last. That small change fixes three problems at once.
1. No gray band. When a cold steak hits a screaming hot grate, heat races in from the outside. By the time the center reaches medium rare, the outer quarter inch has blown past it to medium well. Low heat warms the steak evenly, so the edges and the center finish within a few degrees of each other.
2. A faster, harder crust. Browning (the Maillard reaction) cannot really get going until surface moisture is gone, because water holds the surface near its boiling point. A slow first stage, especially after a dry brine, leaves the surface dry and warm. When it hits the heat, it starts browning almost immediately instead of steaming first.
3. A bigger window to get it right. At 225 to 250°F, a thick steak climbs slowly, often just a degree or two a minute near the end. You have time to check it, think, and pull it on the number. On a hot grate, a steak can go from perfect to overdone in the time it takes to answer the door.
A bit of history: J. Kenji López-Alt has written that he developed his version of the method as a test cook at Cook's Illustrated, where it was published in the May/June 2007 issue, as a way to get sous vide style results without special equipment. Pitmasters had been doing something similar on smokers for years, and the name "reverse sear" caught on later. Today it is the go-to method for thick steaks in backyard and competition circles alike.
| Method | Crust | Even doneness | Gray band | Margin for error | Best for |
|---|---|---|---|---|---|
| Classic hot sear | Good | Fair | Thick | Small | Steaks under 1.25 inches |
| Sear first, then oven | Good, softens slightly | Good | Medium | Medium | Restaurant kitchens |
| Reverse sear | Best | Excellent | Very thin | Large | Steaks 1.5 inches and up, roasts |
| Sous vide, then sear | Very good | Perfect | Almost none | Largest | Precision cooks with the gear |
Which Steaks to Reverse Sear (and Which to Skip)
Thickness matters more than the cut. An inch and a half is the sweet spot, and an inch and a quarter is the floor. Below that, there is not enough meat for the center to lag behind the surface, so the steak hits your number before a crust can form. Two inches and up is where the method really shines.
| Cut | Ideal thickness | Why it works | Watch out for |
|---|---|---|---|
| Ribeye | 1.5 to 2 in | Marbling stays juicy through the slow stage; the cap crisps beautifully | Probe the eye, not the cap or a fat pocket |
| New York strip | 1.5 to 2 in | Even shape cooks evenly; firm texture holds a great crust | Render the fat strip on its edge during the sear |
| Filet mignon | 2 in | Lean cut that overcooks fast with high heat alone | Tie it for an even round so the sides cook evenly |
| Tomahawk or cowboy ribeye | 2 to 2.5 in | Huge, thick steaks are the method's best case | The bone slows cooking near it, so probe the middle of the eye |
| Porterhouse or T-bone | 1.75 to 2 in | Lets the strip and the tenderloin finish closer together | Keep the tenderloin side toward the cooler end |
| Picanha | Whole or 2 in steaks | Fat cap renders slowly, then crisps | Score the cap so it does not curl |
| Tri-tip | Whole roast | A small roast, perfect for low then hot | The grain changes direction, so slice in two sections |
| Thick pork chops | 1.5 in and up | Lean chops stay juicy | Cook pork to 145°F per USDA guidance |
Skip the reverse sear for skirt, flank, hanger and thin flat iron steaks. They are thin, high heat cuts, and the method fights them. Cook those hot and fast over direct heat.
Want a cut specific walk through? We have written up the dry brined reverse seared ribeye, a tomahawk ribeye, reverse seared tri-tip, marinated teres major and a whole reverse seared tenderloin.

Step 1: Dry Brine (the Step Most People Skip)
Salt does two jobs on a reverse seared steak. It seasons the meat deeper than the surface, and it dries the outside so the sear browns instead of steams. Of all the steps in this guide, this is the one that makes the biggest difference to the crust.
How to do it: season every side, edges included, with about three quarters to one teaspoon of kosher salt per pound, or use a salt, pepper and garlic blend so you season and brine in one move. Livia's Salt Pepper Garlic is the SPG in the Upper Crust box, and Lane's SPG is another great option. Set the steak on a wire dry brining rack over a sheet pan and leave it uncovered in the fridge. The rack lets cold air reach the bottom too, so you don't end up with one soggy side.
| Dry brine time | What you get |
|---|---|
| Under 10 minutes | Seasoned surface only. Fine if you are short on time; cook right away. |
| 10 to 40 minutes | Avoid. Salt has pulled moisture to the surface but it has not reabsorbed yet, so the steak is wet. |
| 1 to 4 hours | Seasoned below the surface, partly dry. A good weeknight option. |
| 12 to 24 hours | The sweet spot. Seasoned through, dry, tacky surface that sears fast. |
| Up to 48 hours | Even drier surface and deeper seasoning. Great for very thick steaks. |
Pitmaster tip: Do not rinse the steak after the dry brine and do not add more salt before the cook. The surface will look a little darker and dry to the touch. That is exactly what you want.

Step 2: Season in Layers
A great steak needs less seasoning than you might think, but each layer should have one job, and timing matters.
- The night before: salt. Your SPG or kosher salt dry brine, covered above.
- Right before the cook: crust. A light dusting of a bold beef rub adds color and savory depth. The Rocks All Red Meat Rub by Whiskey Bent BBQ brings pepper, garlic, onion, paprika and chili. Black Steak Seasoning by The Spice Lab and Rufus Teague Steak Rub are two more favorites. Most steak rubs contain salt too, so go light on a steak you already brined.
- Right off the sear: butter and garlic. Garlic scorches on a ripping hot grate, so add it at the end. A shake of Heath Riles Garlic Butter Rub the moment the steak comes off the heat blooms in the residual heat without burning. Old Southern BBQ Steak + Butter Seasoning works the same way.
What about pepper? Coarse black pepper can turn bitter during a long, very hot sear. Since the reverse sear keeps the sear short, pepper on before the cook is usually fine. If you sear on cast iron with lots of smoke, add extra cracked pepper after.

Step 3: Know Your Numbers
This is the whole method in one table. The left column is when you pull the steak off the low heat, not when it is done. The sear adds about 5 to 10°F and a short rest adds a few more, which is why you stop so early. If you sear on a blazing hot surface for the full 90 seconds a side, lean toward the low end of each pull range. For a deeper dive on doneness, see our steak doneness temperature chart.
| Doneness | Pull off low heat at | Finishes at | What you get |
|---|---|---|---|
| Rare | 105 to 110°F | 120 to 125°F | Cool red center |
| Medium rare | 115 to 120°F | 130 to 135°F | Warm red center. Our pick for ribeye and strip. |
| Medium | 125 to 130°F | 140 to 145°F | Warm pink throughout |
| Medium well | 135 to 140°F | 150 to 155°F | Slightly pink center |
| Well done | 145 to 150°F | 160°F and up | No pink |
Cooking for a table with different opinions? Cook every steak to the lowest one, then return individual slices to the hot side for 30 seconds. You can always cook a steak more. You cannot take it back.
A note on safety: the USDA lists 145°F with a three minute rest as the safe minimum internal temperature for whole cuts of beef and pork. Plenty of steak lovers happily eat beef below that, and it is your call, but it is worth knowing where the line is.
How Long Does a Reverse Sear Take?
Planning numbers for a cooker running 225 to 250°F, cooking to medium rare from fridge cold. Your grill, your steak and the weather will move these, which is the whole reason the thermometer is the one tool you cannot fake.
| Thickness | Low stage at 225 to 250°F | Sear, per side | Door to door |
|---|---|---|---|
| 1.25 inches | 25 to 35 minutes | 45 to 60 seconds | About 45 minutes |
| 1.5 inches | 35 to 45 minutes | 60 to 75 seconds | About 1 hour |
| 1.75 inches | 45 to 55 minutes | 75 to 90 seconds | About 1 hour 10 minutes |
| 2 inches and up | 55 to 70+ minutes | 90 seconds, plus the edges | 1.25 to 1.5 hours |
Use the Thermometer Like a Pro
- Go in from the side, not the top, and aim the tip for the dead center of the thickest part.
- Miss the bone and big fat pockets. Both read differently than the meat around them.
- Check early, then often. Start checking at about two thirds of the expected time. The last 10 degrees can go faster than the first 50.
- Probe every steak. Two steaks from the same package can finish 10 minutes apart.
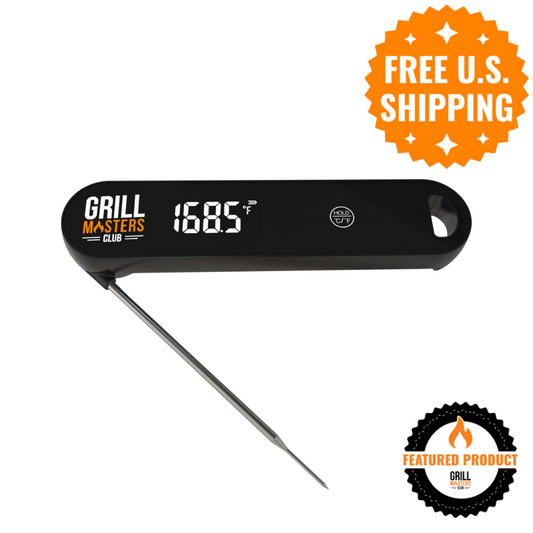
The Grill Masters Club Digital Instant Read Meat Thermometer reads in under a second, has a display that rotates automatically so you can read it at any angle, and a magnetic back that sticks to the grill. It is the first thing in the Upper Crust box for a reason.


Steakhouse flavor, delivered. Join Grill Masters Club.
The crust is only as good as what you put on it. Every themed box is hand picked by our pitmaster panel: 5+ premium rubs, sauces, and tools plus recipes, worth $80+ per box. Choose a delivery every two or three months, and pause or cancel anytime.
Step 4: Set Up Your Cooker
The low stage can happen almost anywhere that holds 200 to 275°F. The sear needs the opposite: the hottest surface you can make. Here is exactly how to run each cooker.
Charcoal Kettle
Bank a full chimney of lit coals on one side of the kettle and leave the other side empty. Put the steak on the empty side, set the lid vent over the steak so smoke and heat pull across it, and adjust the bottom vent to hold the cool side around 225 to 250°F. When the steak hits its pull number, take it off, open every vent, add a handful of fresh coals if the fire has faded, and let the hot side rip for five minutes before you sear directly over the coals.
Gas Grill
Light one or two burners on one side and leave the rest off. Set the steak over the unlit burners, close the lid, and adjust the lit burners until the lid reads about 250°F (lid gauges run off, so a probe at grate level is better). For the sear, pull the steak, crank every burner to high, and preheat with the lid closed for 10 minutes. Gas grills often struggle to sear hard, so this is where a cast iron pan on the grates pays off.
Pellet Grill
Run it at 225°F for the low stage; you will pick up more smoke at lower temps. Many pellet grills don't get hot enough at the grate for a great crust, so pull the steak, then either crank the grill to its highest setting and sear on a preheated cast iron pan set right on the grates, or carry the steak to a hot charcoal grill or a stovetop skillet.
Kamado
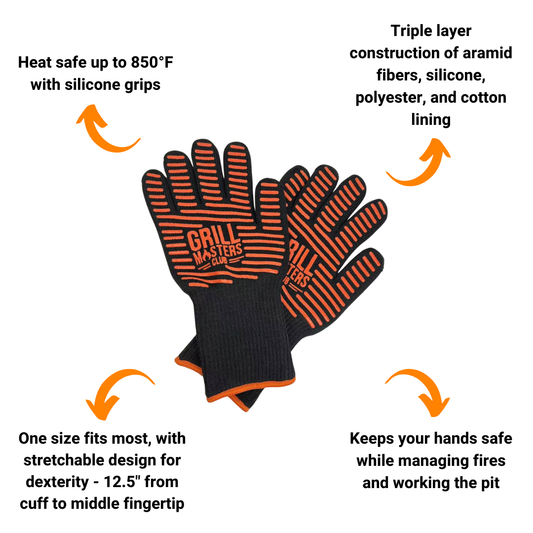
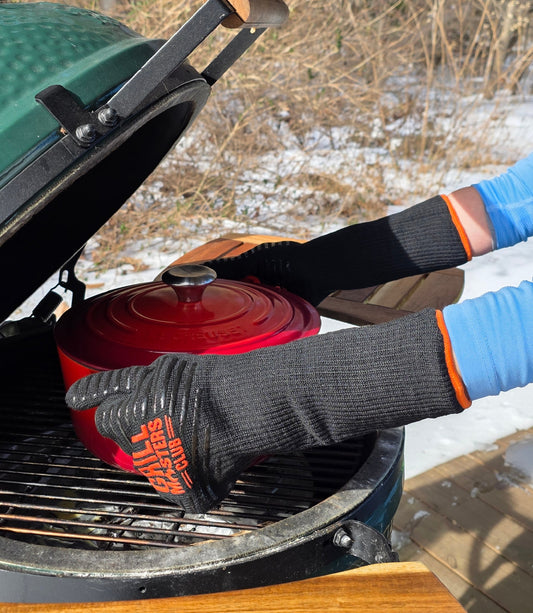
Set the heat deflector in place and stabilize at 225 to 250°F before the steak goes on. Kamados hold heat so well that they are slow to cool down, so the trick is to remove the steak, pull the deflector with heat resistant high temperature grilling gloves, open the vents wide and let the fire climb for a few minutes. Burp the lid (crack it an inch for a few seconds) before opening fully, since a kamado starved of air can flare when oxygen rushes in.
Smoker or Offset
Run the cook chamber at 225°F and let the steak take on light smoke for the low stage. Smoke and beef are a natural match, but go easy: one or two chunks are plenty for a 45 minute cook. Red Wine Barrel Smoking Wood Chunks by Midwest Barrel Co. pair nicely with beef. Smokers rarely sear well, so finish on a hot grill or cast iron.
Oven (Indoors)
No grill? Set the steak on a wire rack over a sheet pan and cook it in a 225 to 250°F oven to your pull temp. Then sear in a cast iron skillet on the stovetop over high heat until it is lightly smoking. Turn on the vent fan first. This is the version that made the method famous, and it works year round.
| Cooker | Low stage setup | Low temp | Best way to sear | Notes |
|---|---|---|---|---|
| Charcoal kettle | Two zone, coals on one side | 225 to 250°F | Directly over the coals, vents wide open | Best all round crust |
| Gas grill | One side lit, steak over unlit burners | About 250°F | All burners high, or cast iron on the grates | Preheat at least 10 minutes |
| Pellet grill | Indirect, lowest smoke setting | 225°F | Cast iron on the grates, or a second cooker | Most smoke flavor at low temps |
| Kamado | Deflector in | 225 to 250°F | Deflector out, vents wide | Burp the lid before opening |
| Smoker or offset | Cook chamber | 225°F | Hot grill or cast iron | Use only one or two wood chunks |
| Oven | Wire rack over a sheet pan | 225 to 250°F | Cast iron on the stovetop | Works in any weather |
Step 5: The Sear
Pull the steak at your number and set it on the rack while the heat builds. Then do two things: pat the surface dry with a paper towel, and add a thin layer of fat. Every bit of surface moisture has to boil off before browning starts, and that is time your center does not have.
Grates, Cast Iron or Flat Top?
| Sear surface | Crust | Grill flavor | Best for |
|---|---|---|---|
| Grill grates over coals | Deep crust with char and grill marks | Most | Charcoal grills |
| Cast iron skillet or griddle | Most even, edge to edge crust | Some, if on the grill | Gas and pellet grills, indoors |
| Flat top or griddle | Even crust, room for several steaks | Little | Cooking for a crowd |
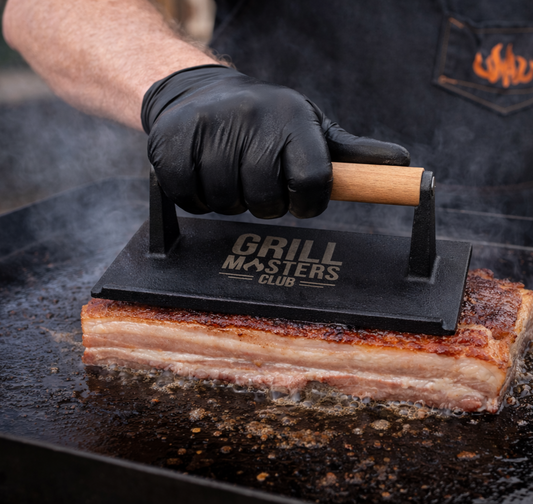
Cast iron gives you full contact with the hot metal, which means a more even crust than grill grates, especially on a gas or pellet grill. A Barebones 12 inch cast iron skillet griddle set right on the grates gets you the best of both: grill smoke and skillet crust. Preheat it with the grill for at least 10 minutes.

The reverse sear setup, from sear to cleanup.
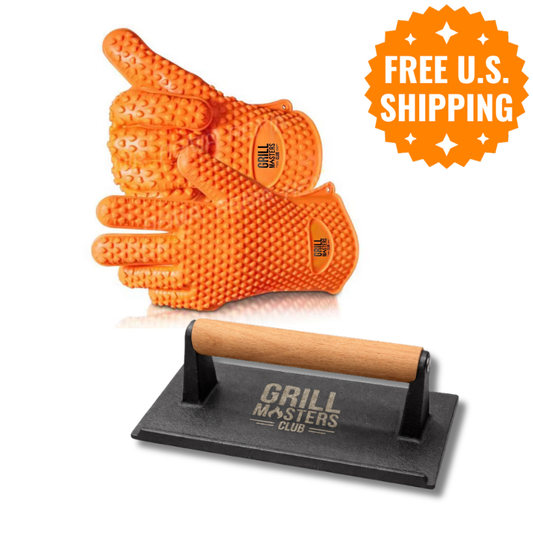
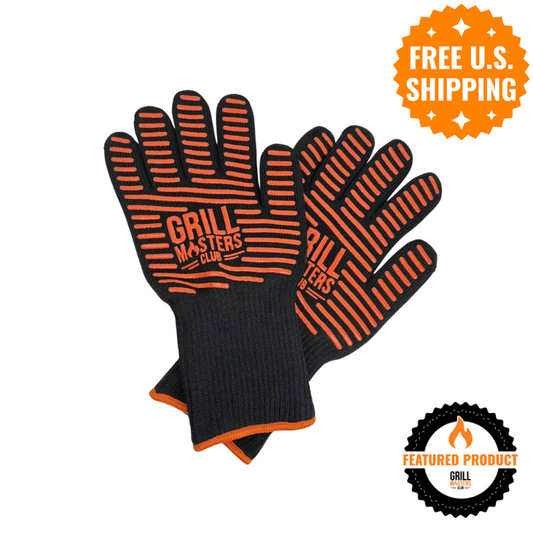
The gear behind a great reverse sear crust: a Barebones cast iron skillet griddle, Wagyu beef tallow spray for the sear, Lane's Signature rub for the seasoning, and the Caron & Doucet care set, Griddle Scrub and a chain mail scrubber for cleanup. Or get the cast iron basics in one go with the Cast Iron Mastery Bundle: the Barebones 12 inch skillet griddle, the Caron & Doucet care set and a pair of Grill Masters Club high temperature gloves. It's all in the Pitmaster Shop, and US orders over $100 ship free.
Which Fat Should You Sear With?
Beef tallow is our pick. It handles high heat, browns hard, and adds more beef flavor to the crust. Wagyu Beef Tallow Spray by South Chicago Packing is made from 100% rendered American Wagyu beef tallow in a bag on valve can with no chemical propellants, so a light mist coats every surface without pooling. For skillet searing, a spoonful of Wagyu Beef Tallow by South Chicago Packing from the jar works great.
Neutral oil with a high smoke point works too. Butter tastes amazing but burns at searing temps, so add it in the last 30 seconds in a skillet and spoon it over the steak, or put a pat on top while it rests.
How to Sear
- Get the surface as hot as it will go. Lid open for the sear. You are building a crust, not cooking the inside.
- Sear 45 to 90 seconds a side, depending on thickness and heat.
- Flip often. Flipping every 30 seconds or so builds an even crust and slows how fast heat pushes back into the center. You give up some grill marks, but you get crust over the whole surface.
- Do the edges. Use tongs to stand thick steaks on their fat edge for 20 to 30 seconds to render it.
- Check once. A quick probe tells you if you hit your finish temp.
- Season and finish. Shake on garlic butter seasoning or add a pat of butter the moment it comes off.
Watch for flare ups. A well marbled ribeye drips fat onto hot coals. Keep a cooler spot on the grate where you can move the steak for a few seconds if the flames climb. Brief flames add flavor; sustained flames add soot.
Step 6: Rest, Slice and Serve
To rest or not to rest? A steak cooked hot the whole way needs a rest because the outside is far hotter than the center. A reverse seared steak is already close to even, so it needs much less. Some well known cooks say you can skip it entirely. Our take: rest 3 to 5 minutes, uncovered, on a rack or board. That gives you time to slice the other steaks and plate the sides. Do not tent it with foil. That traps steam against the crust you just built.
Slice against the grain on a sturdy Grill Masters Club Cutting Board, in slices about a quarter to a half inch thick. Look at the long muscle fibers and cut across them. Shorter fibers mean a more tender bite.
Serve it right. A great reverse seared steak does not need sauce, but it never hurts to set some on the table. Rufus Teague Steak Sauce is thick and tangy with raisin, tamari and vinegar. Terrapin Ridge Farms Horseradish Garnishing Squeeze adds steakhouse bite, and Chimichurri Seasoning by The Spice Lab stirred into olive oil and red wine vinegar makes a fast herb sauce.

Beyond Steak: Reverse Sear Roasts, Tri-Tip and Chops
Anything thick enough to have a cold center and a hot surface can be reverse seared. The method is the same; only the numbers change.
- Tri-tip: a whole roast takes about an hour to an hour and a half at 225 to 250°F. Pull at 120 to 125°F for medium rare, sear hard, and slice each side of the roast against its own grain. See our reverse seared tri-tip.
- Beef tenderloin: tie it into an even log, cook low to 115 to 120°F, then sear all sides. Our reverse seared tenderloin walks through it.
- Prime rib: the reverse sear is the best way to get that even pink interior on a big roast. Our prime rib cheat sheet has times, temps and how much to buy.
- Thick pork chops and pork tenderloin: cook low until about 135 to 140°F, then sear to a final 145°F. Try our maple bacon reverse seared pork chops or reverse seared pork tenderloin.

10 Reverse Sear Mistakes (and How to Fix Them)
- Salting 20 minutes before the cook. That is the wet window. Salt right before you cook, or at least 40 minutes ahead, and ideally overnight.
- Starting with a thin steak. Under about 1.25 inches, the center catches up before the crust happens. Cook thin cuts hot and fast.
- Cooking by the clock. Every steak and every grill is different. The times above are a plan. The thermometer is the decision.
- Pulling too late. If you pull at your final temp, the sear and carryover will push you a full doneness level past it. Pull 15 to 20 degrees early.
- Trusting the lid thermometer. Lid gauges can be off by a lot. Measure at grate level, next to the steak.
- Searing a wet steak. Pat it dry after the low stage. Every drop of water slows browning.
- Searing over a weak fire. If the heat is not ready, the steak sits there cooking through instead of browning. Wait until the surface is screaming hot.
- Burning the garlic. Fresh garlic and garlic heavy rubs scorch at searing temps. Add them after the sear.
- Tenting with foil. It steams the crust soft. Rest uncovered.
- Slicing with the grain. Even a perfect steak chews tough if you cut along the fibers. Find the grain and cut across it.
Your Reverse Sear Gear Checklist
- A thick steak, 1.5 inches or more
- Instant read thermometer
- Wire dry brining rack and a sheet pan
- Kosher salt or an SPG blend
- A beef rub and a garlic butter finishing rub
- Beef tallow spray for the sear
- Cast iron for gas, pellet or indoor searing
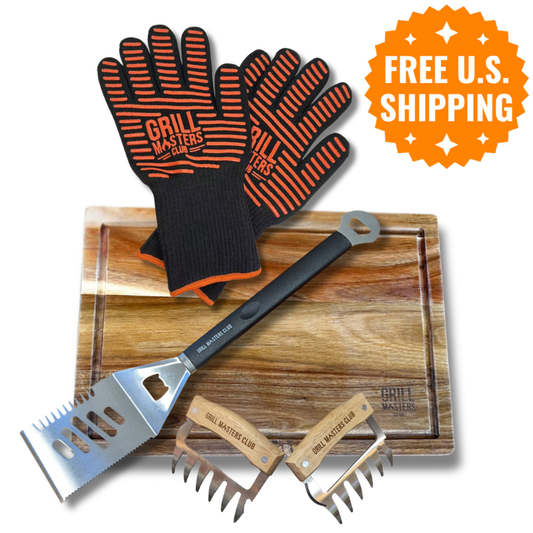
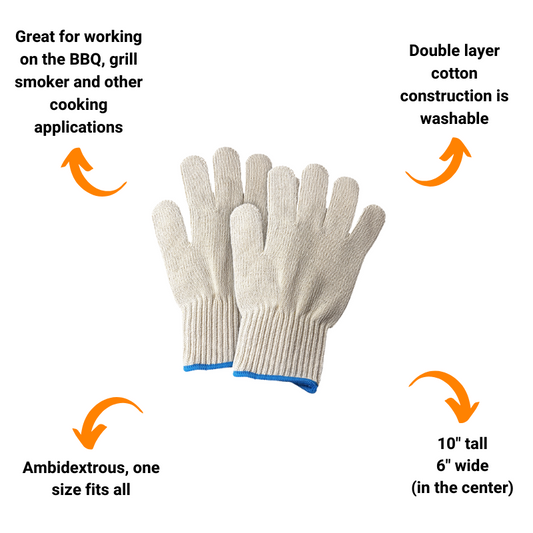
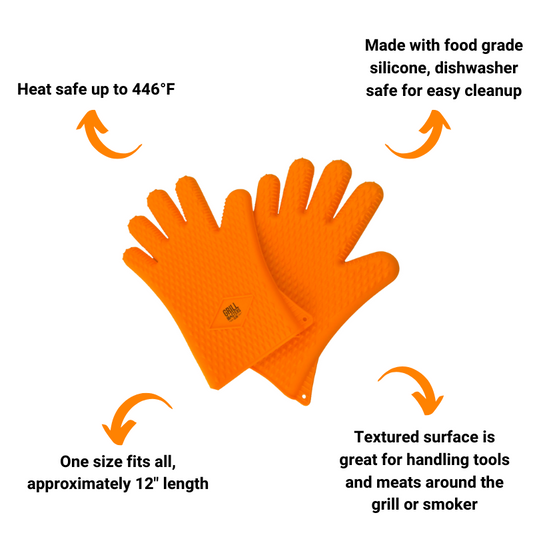
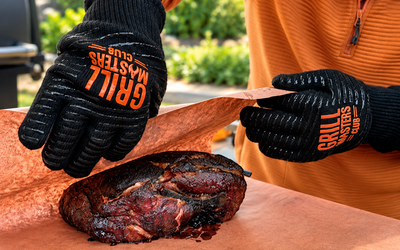
- Tongs, heat resistant gloves and a cutting board
- A steak sauce for the table
The Easy Way: the Upper Crust Steak Box
Most of that list lives in different drawers, if you have it at all. So we put the whole cook in one box. The Upper Crust Steak Box includes:
- Grill Masters Club Digital Instant Read Meat Thermometer
- Fox Run 14 x 10 inch wire rack for dry brining
- Wagyu Beef Tallow Spray by South Chicago Packing (7 oz)
- Livia's Salt Pepper Garlic (3 oz) for the dry brine
- The Rocks All Red Meat Rub by Whiskey Bent BBQ (5 oz) for the crust
- Heath Riles Garlic Butter Rub (8 oz) to finish
- Rufus Teague Steak Sauce (7 oz) for the table
Brine it dry. Cook it slow. Sear it hard. Pull it on the number. Get the Upper Crust Steak Box and use code USA for 10% off.

Shopping for a Steak Lover?
The Upper Crust Steak Box is a holiday ready gift for anyone who loves a good steak and owns a grill or smoker. Everything for a steakhouse steak at home comes in one box, so all they need to bring is the beef.
Looking for more ideas? Shop all Gifts for Steak Lovers, or give the gift that keeps showing up: a Grill Masters Club subscription.

Keep going: read our guide to grilling the perfect steak, learn how to apply a dry rub, or put this method to work on the dry brined reverse seared ribeye.
Reverse Sear FAQ
What temperature do you pull a steak for reverse sear?
Pull it off the low heat 15 to 20°F under your target. For medium rare, that is 115 to 120°F. The sear and a short rest bring it up to 130 to 135°F.
What temperature should the grill be for the low stage?
225 to 250°F on the indirect side is ideal. Anywhere from 200 to 275°F works; lower is more even but slower.
How long does it take to reverse sear a steak?
A 1.5 inch steak takes about 35 to 45 minutes on the low side at 225 to 250°F, plus a minute or so per side for the sear. Call it an hour door to door. A 2 inch steak can take 70 minutes or more on the low stage.
How thick does a steak need to be to reverse sear?
1.5 inches is the sweet spot and 1.25 inches is the minimum. Thinner steaks reach temperature before a crust forms, so cook them hot and fast.
Can you reverse sear without a thermometer?
Not reliably. The whole method depends on pulling at a number you cannot see from the outside. If you buy one tool for steak, buy an instant read thermometer.
Do you need to rest a reverse seared steak?
Much less than a traditionally seared steak, since it is already cooked evenly. We rest 3 to 5 minutes, uncovered, so the crust stays crisp.
Should I dry brine before reverse searing?
Yes. Salting 12 to 24 hours ahead on a wire rack in the fridge seasons the meat through and dries the surface, which is what lets the sear brown fast.
Is it better to sear on the grill or in cast iron?
Charcoal grates give the most grill flavor and char. Cast iron gives a more even crust and is the best choice on gas and pellet grills or indoors.
Can I reverse sear on a pellet grill?
Yes. Run it at 225°F for the low stage, then sear in a cast iron pan on the grates at the grill's highest setting, or on a separate hot grill.
Can I reverse sear in the oven?
Yes. Cook the steak on a wire rack over a sheet pan at 225 to 250°F, then sear it in a smoking hot cast iron skillet on the stovetop.
Should the lid be open or closed when searing?
Open. The low stage happens with the lid closed, but for the sear you want direct heat on the surface and the chance to flip often.

Know a grill master? Give the gift of BBQ.
Not sure which rubs and sauces they would pick? A Grill Masters Club digital gift card lets them choose their own favorites from the full store. Pick any amount from $50 to $250, add a personal note, and it is delivered instantly by email. It never expires.
Rather send a box of BBQ to their door? Give a gift subscription
Join 100,000+ Grill Masters
Get weekly recipes, pro tips, and exclusive deals sent straight to your inbox. Plus your free Pit Card download and 10% off your first order.