Pro Tip: Blackening on the Grill, Not in Your Kitchen
Blackening is one of the few techniques that turns a $9 shaker of seasoning into something that tastes like it came off a restaurant line. It is also the single fastest way to fill your house with smoke, set off every alarm on the first floor, and leave a fine haze of spiced oil on your cabinet doors that you will still be wiping off in March.
The fix is not a better vent hood. The fix is not cracking a window. The fix is moving the entire operation out to the grill, where heat is unlimited, ventilation is infinite, and nobody cares how much smoke a cast iron skillet throws when a pound of seasoned catfish hits it.
This is a complete guide to doing it right: what blackening actually is, why your stovetop is working against you, how to set up your grill for it, which fat to use and why the wrong one ruins the batch, a protein by protein playbook with temps and times, the five failure points that trip up most people, and how to turn the whole thing into a gameday assembly line. Bookmark it, because this is the kind of technique you will run a dozen times a season once it clicks.
Short answer: Set a cast iron skillet or griddle over direct high heat on your grill and preheat it dry for 10 to 12 minutes until the surface reaches 450 to 500°F. Pat your protein completely dry, brush it with clarified butter or a high smoke point oil, and coat it heavily with Blackened Seasoning by The Spice Lab. Lay it down, leave it alone for 2 to 3 minutes per side, and finish thicker cuts over indirect heat until they reach temp. The grill absorbs the smoke, the crust comes out dark and crackly instead of gray and steamed, and your kitchen stays clean.
What you will find in this guide
- What blackening actually is, and what it is not
- The science behind the crust
- Why the grill beats the kitchen every time
- Choosing your cooking surface and tools
- The fat question, and why butter alone fails
- Setting up the grill: gas, charcoal, and pellet
- The master method, step by step
- Protein by protein playbook
- Layering flavor with the Flavor Formation lineup
- Running it as a gameday assembly line
- Troubleshooting: symptom, cause, fix
- Cleanup and pan care
- Frequently asked questions
What blackening actually is, and what it is not
Blackening is not burning. That is the first thing to get straight, because the name works against the technique. What you are doing is pressing a heavy coat of ground spices and dried herbs against metal hot enough to toast them in seconds, with fat acting as the bridge between the iron and the crust. The paprika darkens, the garlic and onion powder brown, the herbs crisp, and the sugars and proteins on the surface of the meat brown right along with them. The result is a dark mahogany to near black shell that cracks when you cut it, sitting on top of a protein that is still moist inside.
Blackened food should smell toasted, sweet, and a little peppery. If it smells sharp, acrid, or like an ashtray, something went wrong: the pan ran past 550°F, the seasoning sat in a dirty pan and scorched, or you used a fat that broke down before the crust could form. Those are all fixable, and we cover each one below.
It is also worth separating blackening from two things it gets confused with. Charring is direct flame contact that carbonizes the surface of the food itself, which is what happens when you lay chicken over open flame. Searing is browning the surface of a bare or lightly seasoned protein for flavor and color. Blackening is its own animal: a thick, deliberate spice jacket toasted in contact with a flat, screaming hot surface. The crust is the point, not a byproduct.
The technique as most Americans know it traces to Chef Paul Prudhomme, who put blackened redfish on the menu at his New Orleans restaurant in the early 1980s. The dish became popular enough that demand for Gulf redfish created real pressure on the fishery, and the technique spread to every seafood house in the country. What made it work then is exactly what makes it work now: cast iron, extreme heat, a lot of seasoning, and clarified butter.
The science behind the crust
Three things are happening at once when blackened food hits the iron, and understanding them tells you exactly where the technique goes wrong.
- Maillard browning on the protein. Amino acids and sugars on the surface of the meat react and produce hundreds of new flavor compounds. This runs efficiently above roughly 300°F, and it needs a dry surface. Any water sitting on the meat has to boil off first, and while it does, the surface is stuck at 212°F and cannot brown. That is why a wet fillet comes out gray.
- Spice toasting. Ground spices contain volatile aromatic oils that are locked in until heat releases them. Toasting paprika, garlic, onion, thyme, and oregano against hot metal blooms those oils in seconds and completely changes their character. This is why a blackened crust tastes nothing like the same rub sprinkled on a baked fillet.
- Conduction, not radiation. Grates cook with radiant heat and flame contact, which hits high points and leaves low points pale. A flat iron surface cooks by direct conduction across the entire face of the food at once. That total contact is what produces a continuous crust instead of stripes.
Put together: you need a dry surface, a lot of seasoning, a flat surface at 450 to 500°F, and a fat that survives those temperatures. Miss any one of the four and the result drops off noticeably.
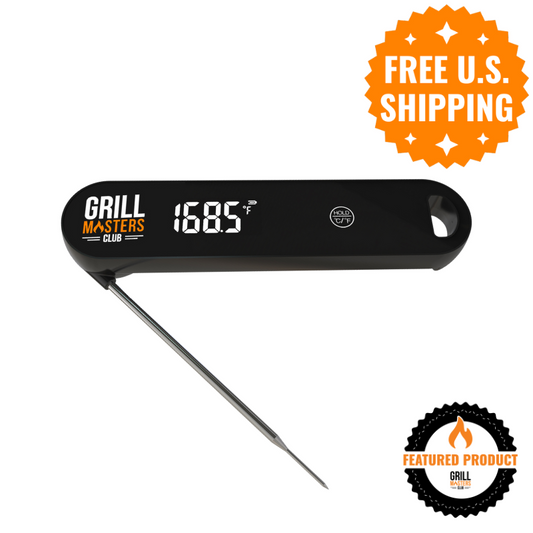
Why 450 to 500°F and not 600°F: More heat is not better here. Past about 550°F the sugars and paprika in a blackening blend go from toasted to carbonized in well under a minute, and the crust turns genuinely bitter. You want the pan hot enough to set a crust in two to three minutes, not hot enough to set one in 30 seconds. An infrared thermometer pointed at the cooking surface removes all the guesswork here and is one of the more useful $25 purchases a griddle cook can make.
Why the grill beats the kitchen every time
- Real, sustained heat. Most home burners can get cast iron to 500°F empty, but the moment cold protein hits, the surface temp crashes and a residential burner takes a long time to claw it back. A grill running wide open with the lid closed builds a much larger reservoir of heat in the iron and in the chamber itself, so the recovery between batches is far faster.
- Smoke goes where smoke belongs. Clarified butter at 475°F plus toasting spice plus rendering fat puts out a genuine plume. Outdoors that is atmosphere. Indoors that is a smoke alarm, an argument, and an oily film on every surface within ten feet of the range.
- Two heat zones on demand. This is the part people underuse. The direct zone builds the crust. The indirect zone carries thicker cuts to finished temperature without pushing the seasoning past its limit. On a stovetop you either move to a second burner or finish in the oven, and both add steps.
- Room to work in batches. A 10" x 18" griddle on the grill gives you enough surface to run eight to ten shrimp skewers or four chicken cutlets at once. Feeding six people stops being a relay race.
- Nothing you own gets ruined. No scorched range hood filters, no spattered backsplash, no lingering smell in the curtains three days later.
Choosing your cooking surface and tools
Any heavy cast iron will work. What changes between options is how much usable flat area you get and how easy it is to slide a spatula under a set crust.
- A cast iron skillet is the traditional choice and what Prudhomme used. Sloped walls cost you working area and make it awkward to get a spatula flat under a fillet, but if you already own one, start here. The 12" Cast Iron Skillet Griddle by Barebones splits the difference with lower walls than a standard skillet.
- A reversible cast iron griddle is the upgrade most people should make. Flat side up, full edge to edge contact, no walls in the way. The 10" x 18" Reversible Cast Iron Griddle by Outset drops straight across the grates and flips to a ridged side when you want sear marks instead.
- A dedicated flat top is the easiest version of all of this. If you want to convert your existing grill into one, the Fiddle With The Griddle Bundle pairs a reversible cast iron griddle with the spatula, press, and spray bottle you will reach for anyway.
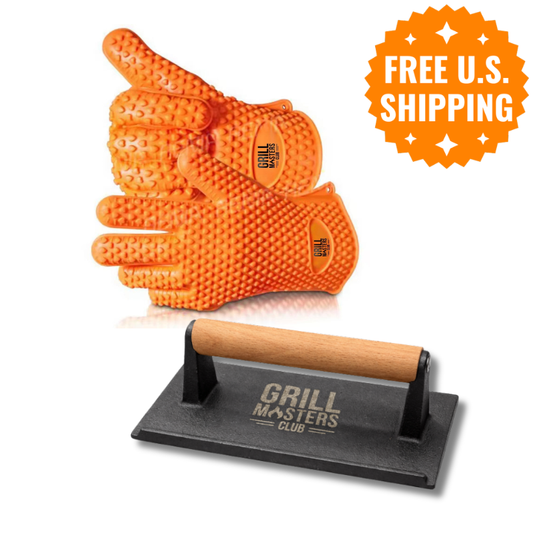
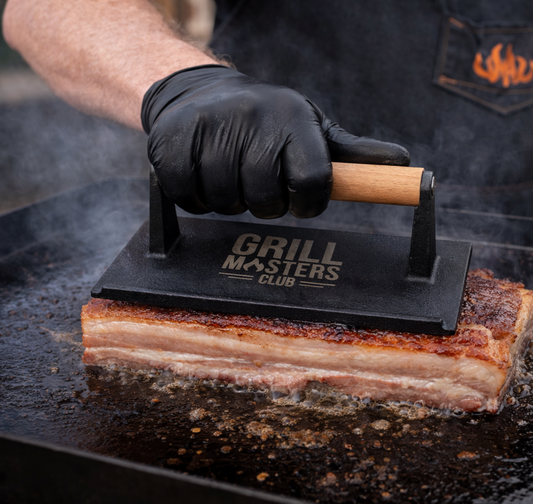
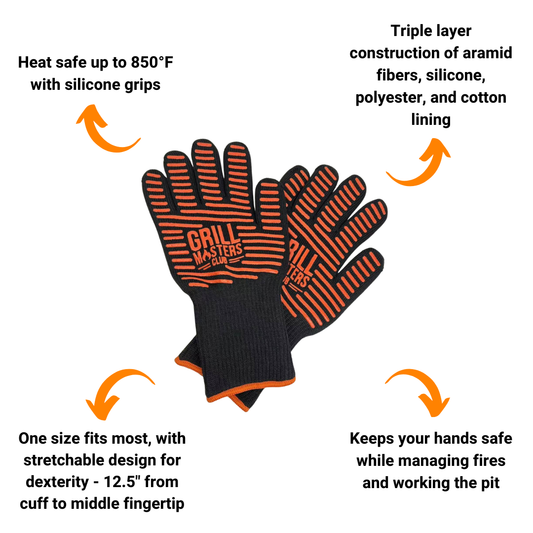
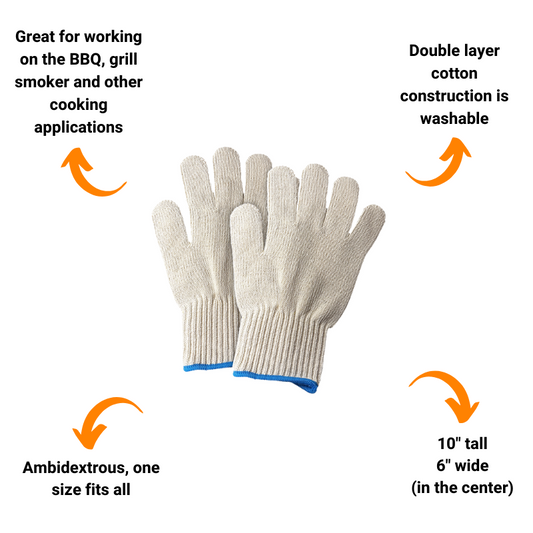
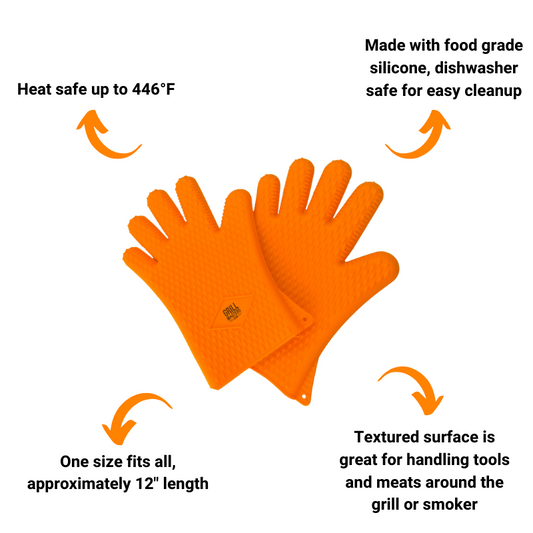
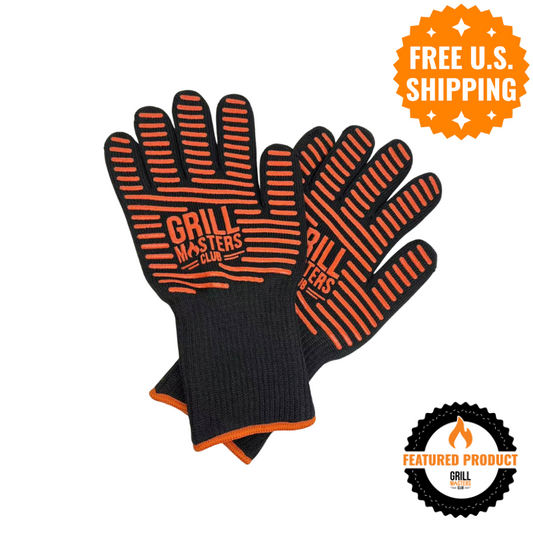
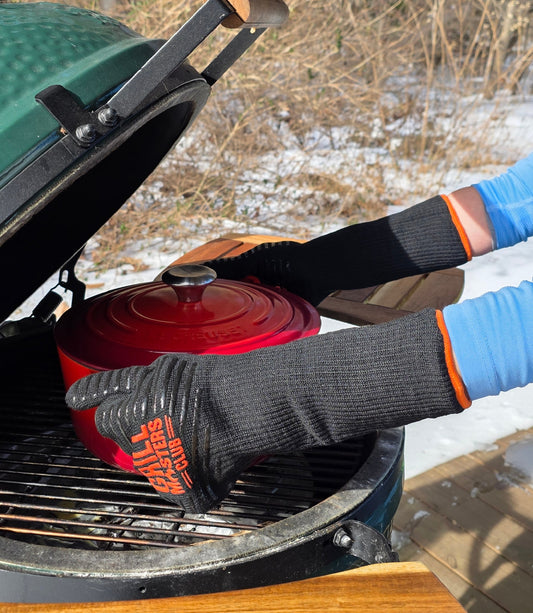
For tools, three items do most of the work. A stiff, thin edged spatula gets under a set crust without tearing it: the Perforated Griddle Spatula by TableCraft or the 14" Stainless Steel Griddle Spatula by Fox Run both work. A weight keeps cupping fillets and cutlets pressed flat against the iron for full crust contact, which is what the Heavy Cast Iron Bacon & Griddle Press is for. And heat protection is not optional at these temperatures, which is why the Sear & Safety Bundle pairs gloves with the press.
Season the iron before you blacken on it. A well seasoned surface releases a set crust cleanly. A bare or stripped surface grabs it and tears it off the fillet, which is the difference between a beautiful piece of fish and a pan full of loose spice. If your griddle looks dull or patchy, put a thin coat of Griddle Oil by Caron & Doucet on it and bake it in on the grill at 400°F for an hour before you cook.
The fat question, and why butter alone fails
This is where most first attempts fall apart. Classic blackening calls for butter, so people reach for a stick of it, and the milk solids in whole butter start scorching somewhere around 300°F. On a 475°F surface those solids go black and bitter almost immediately, and that bitterness ends up in every bite.
What Prudhomme actually used was clarified butter: butter with the water and milk solids removed, leaving pure butterfat that holds up to roughly 450°F or higher. You can buy it as ghee, or make it by melting a stick of butter over low heat, skimming the foam, and pouring off the clear golden fat while leaving the milky sediment behind.
Your working options, roughly in order of heat tolerance:
- Refined avocado oil, around 500 to 520°F. The most forgiving choice and nearly flavorless.
- Ghee or clarified butter, around 450 to 485°F. The traditional pick and the best flavor for seafood and chicken.
- Beef tallow, around 400°F. Excellent on steak and pork, slightly less margin for error.
- Whole butter, around 300 to 350°F. Not for the pan. It has a place as a finishing baste off the heat, never as the cooking fat.
Two application methods, and the choice matters more than people expect:
- Brush the protein, not the pan. A thin film of fat directly on the fish or chicken, then seasoning pressed on top. This gives the cleanest crust and the least spatter, and it is the method to use on a griddle where oil would run off anyway.
- Dip in melted clarified butter. The old school approach: dunk the fillet, let it drip for a second, then dredge it in seasoning. The crust comes out richer and slightly thicker. Use this in a skillet with walls that can contain the drips, and expect more smoke.
What you want to avoid either way is a pool of fat sitting in the pan. At 475°F, a quarter inch of oil spatters hard, fries the seasoning loose from the protein, and puts you in shallow fry territory instead of blackening territory.
Setting up the grill: gas, charcoal, and pellet
Gas. Light every burner on high, set the iron on the grates, and close the lid for 10 to 12 minutes. Once you are up to temp, drop the burners under one side to low or off. That side becomes your finishing zone. Keep the iron over the live burners.
Charcoal. Light a full chimney and bank the coals to one side, two to three briquettes deep under the iron. This produces the most authentic result of the three because charcoal delivers more radiant heat under the pan and recovers heat quickly between batches. The empty side is your indirect zone. Leave the bottom vents wide open and the top vent at least half open so you are not choking the fire while the pan smokes.
Pellet. Most pellet grills top out in the 450 to 500°F range, which is right at the edge of what you need. If yours has a direct flame or sear setting, use it. If not, expect longer preheats and plan to cook in smaller batches so the surface has time to recover. The tradeoff is that you pick up a light wood note in the crust, which is a fair trade on chicken and pork.
The water drop test. Regardless of fuel, flick a few drops of water on the surface before you commit. If they sizzle loudly and evaporate on contact, you are around 300°F and not ready. If they bead into mercury like balls and skitter across the surface before vanishing, you are in the 450°F and up range. That skitter is your green light.
The master method, step by step
- Preheat the iron dry. No oil in the pan during preheat. Lid closed, 10 to 12 minutes, then confirm with the water drop test or an infrared thermometer.
- Dry the protein completely. Pat both sides with paper towels until the surface looks matte rather than glossy. For fish, do this twice, ten minutes apart, and let the fillets sit uncovered on a rack in between. This is the step most people skip and the one that most reliably ruins the crust.
- Brush on your fat. A thin, even film of clarified butter, ghee, or avocado oil on all sides. Just enough to give the seasoning something to grip.
- Coat heavily and press it on. Blackening is a jacket, not a dusting. Cover the surface until you cannot see the protein through it, then press with your palm so the layer compacts and bonds to the fat. A 4 to 6 ounce fillet takes roughly a tablespoon of seasoning per side. If that sounds like a lot, it is, and it is correct.
- Lay it down away from you and leave it alone. Set each piece down moving away from your body so any spatter goes forward, not back at your wrist. Leave at least an inch between pieces. Then do not touch, nudge, peek, or reposition anything.
- Flip once, when it releases. A set crust lets go of seasoned iron on its own. If the spatula meets resistance, give it another 30 seconds and try again. Fighting a stuck crust tears it off, and once it is off it is off.
- Move to indirect to finish if needed. Anything thicker than about three quarters of an inch will build its crust long before the center comes up to temperature. Slide it to the cool side, close the lid, and let convection finish the job.
- Rest on a rack, not a plate. Five minutes on a wire rack keeps air moving under the bottom crust. On a plate, trapped steam softens the crust you just spent ten minutes building.
- Sauce after, never before. Sugar based sauces burn at these temperatures. Every sauce goes on after the rest, off the heat.
Pitmaster move: Wipe the iron with a wadded paper towel held in long tongs between every batch. Spent seasoning left behind goes bitter fast and passes that bitterness straight into the next round. Then give the surface 60 to 90 seconds with the lid closed to recover its heat before the next load goes down. Two extra minutes across a whole cook, and it is the difference between a consistent third batch and a disappointing one.
Protein by protein playbook
Times below assume a 475°F surface. Always cook to internal temperature rather than to the clock, and remember that carryover will add a few degrees during the rest.
White fish fillets (catfish, redfish, snapper, grouper, tilapia). The original application and still the best one. Three quarters of an inch thick is ideal. Two to three minutes per side, pull at 130 to 135°F. Fillets under half an inch can go one side only. Skin on fillets go skin side down second so the skin crisps in the rendered fat. If you want a seafood specific crust, Mis' Rubin's Fish Magic Seasoning is built on an 80 year old Gulf Coast recipe for exactly this cook.
Salmon. Richer and more forgiving than white fish because the fat content buffers it. Skin side down first, three minutes, flip, two more. Pull at 125 to 130°F for medium. The natural oils will smoke more than white fish, so expect a heavier plume.
Shrimp. Fast and easy to overcook. Large or jumbo, peeled and deveined, tails on for handling. Ninety seconds to two minutes per side, pull the moment they go opaque and curl into a loose C. A tight O means they went too far. Run three or four per 12" bamboo skewer and lay the whole skewer flat on the iron so you flip an entire row in one motion instead of chasing individual shrimp around a 475°F surface. Soak bamboo skewers in water for 30 minutes first, or keep the exposed ends over the cooler edge of the pan.
Sea scallops. Pat them drier than you think is necessary, season one flat face only, and give them two minutes undisturbed, then one minute on the second side. Pull at 125 to 130°F. Scallops hold a lot of water, so a crowded pan turns into a steam bath instantly. Four at a time, maximum.
Chicken cutlets. Pound boneless breasts to an even half inch first. This single step matters more than anything else you do, because an uneven breast burns at the thin end before the thick end is safe. Three to four minutes per side, finish on indirect if needed, pull at 165°F.
Chicken thighs. Boneless skinless thighs are the most forgiving protein on this list and the best place to practice. Four minutes per side on direct, then indirect until 175 to 180°F, which is where thighs actually get tender. The extra fat means they stay juicy even if you drift past your target.
Wings. Dry brine them uncovered in the fridge overnight if you can, blacken in batches for three to four minutes per side, then move to indirect with the lid closed until they hit 175°F and up. Wings are the one item where a post cook seasoning layer really shines, which is covered below.
Pork chops. Boneless, one inch thick. Three minutes per side on direct, then indirect until 145°F, then rest. Thick bone in chops are better handled with a reverse sear: bring them to 130°F on the indirect side first, then blacken both sides at the end.
Steak. Blackening a steak is a different mindset, because the crust and the doneness compete for time. Use a one inch to one and a quarter inch cut, blacken two to three minutes per side, and finish on indirect to 130 to 135°F for medium rare. Thicker steaks should be reverse seared. If you want a beef forward crust rather than a Cajun one, Black Steak Seasoning by The Spice Lab is built for it.
Vegetables. Underrated and worth doing while the iron is already hot. Cauliflower steaks cut an inch thick, thick sliced zucchini, halved romaine hearts, portobello caps, and corn cut off the cob all blacken well. Brush with oil, season heavily, two to three minutes per side. Vegetables have no protein to brown, so the entire flavor payoff comes from the toasted spice crust, which makes them a good test of whether your seasoning technique is heavy enough.
Layering flavor with the Flavor Formation lineup
A blackened crust is a foundation, not a finished dish. The reason the Flavor Formation BBQ Box works so well for this technique is that the blackening rub sits alongside three finishers chosen to land on top of that crust rather than compete with it. Here is how the layers stack.
- Blackened Seasoning by The Spice Lab is layer one, the crust itself. Paprika forward, herby, and formulated to take high heat without going bitter. Use it heavy on catfish, redfish, chicken cutlets, shrimp, pork chops, and cauliflower steaks. This is the shaker you will go through fastest once you get into this technique.
- Williamson Bros. Hot Honey Bar-B-Q Sauce is the finisher for blackened chicken. The honey sweetness plays directly against the toasted spice and the heat rides underneath it. Drizzle it after the rest, off the heat, so the sugars never see 475°F. Blackened thighs with hot honey on a soft roll with pickles is the single best sandwich this box produces.
- Braswell's Al Pastor BBQ Sauce turns blackened protein into taco night. Blacken shrimp or pork, chop it rough, toss lightly in the sauce off the heat, and load it into tortillas charred on the same iron you just cooked on. Raw white onion, cilantro, a squeeze of lime. The pineapple and chile notes in the sauce were built for exactly this pairing.
- Kosmos Q Honey BBQ Wing Dust is a post cook layer, not a pre cook rub. This is the trick most people miss. Blacken your wings first, then hit them with wing dust while they are still hot and glistening so it adheres to the surface. You get the toasted crust underneath and a bright, sweet, smoky honey barbecue layer on top that never saw enough heat to dull it. One 5.5 oz shaker covers roughly 12 to 15 pounds of wings.
- 12" Bamboo Skewers are the handling solution. Shrimp, scallops, chicken chunks, and vegetables all become a single unit you can flip in one motion. Load them loosely so heat reaches every face.
If you want to push further, Kosmos Q Peach Habanero BBQ Sauce on blackened pork chops is a combination worth trying, and the Griddle & Cast Iron Salt Scrub will handle the aftermath.
Running it as a gameday assembly line
Blackening scales better than almost any other grilling technique, because the cook time per piece is short and the setup is the same whether you are making two fillets or twenty. For a crowd, work in this order.
- Prep everything before you light anything. Dry, oil, and season every piece, then hold them on sheet pans in the fridge. Once the iron is hot you want to be cooking, not seasoning.
- Cook in order of delicacy. Vegetables first, then shrimp, then chicken, then pork or beef. Each round leaves a little fat behind that benefits the next, and you avoid putting fish on iron that just cooked pork.
- Wipe between every batch. Paper towel in long tongs. Ninety seconds of recovery with the lid closed.
- Hold finished food on the indirect side in a foil pan, loosely covered, or in a 200°F oven inside. Blackened food holds better than most grilled food because the crust protects the surface, but do not seal it tight or the steam softens everything.
- Sauce at the serving table, not in the kitchen. Set the bottles out and let people finish their own. It keeps crust crisp and gives everyone a reason to try all three.
Safety note that people learn the hard way: Cast iron coming off a grill at 500°F looks exactly like cast iron at room temperature. Use a long handled glove every single time, set the hot pan on something that can take it, and tell everyone nearby that it is hot. Never blacken on a covered porch, under an awning, in a garage, or anywhere the smoke has no exit. Keep the grill lid open while the pan is actively smoking so heat and smoke are not trapped, and keep a lid or sheet pan within reach in case a grease flare needs smothering. Water never goes on a grease fire.
Troubleshooting: symptom, cause, fix
- The crust is gray and pale instead of dark. The pan was not hot enough, or the protein was wet. Preheat longer, stop opening the lid, and dry the surface properly.
- Everything tastes bitter. Either whole butter went in the pan, the surface ran past 550°F, or you cooked a second batch on spent seasoning. Switch to clarified butter or avocado oil, back the heat down, and wipe between rounds.
- The crust tore off when I flipped it. You flipped too early, or your iron needs seasoning. Wait for clean release, and re season a dull looking surface.
- The food steamed instead of searing. The pan was crowded. Every piece needs an inch of clearance. Cook in rounds.
- Oil spattered everywhere. Too much fat in the pan. Brush the protein instead of pouring into the iron.
- The outside is perfect and the inside is raw. The cut was too thick for a straight sear. Use the indirect zone to finish, or reverse sear thick cuts.
- It burned before I could flip. The surface was well past 500°F. Blackening should take two to three minutes per side, not 45 seconds. Back the fire down.
- The seasoning all fell off in the pan. There was not enough fat on the protein to bind it, or you did not press the coat on. Brush first, coat second, press third.
Cleanup and pan care
Clean the iron while it is still warm, not the next morning. Spent seasoning and fond come off easily at that point and turn into a project once they cool and harden.
- Scrape the bulk of the residue off with a flat metal spatula while the surface is still warm.
- For stubborn spots, the Griddle & Cast Iron Salt Scrub gives you abrasion without stripping the seasoning layer the way steel wool does.
- Wipe clean, dry it completely over low heat so no moisture is left anywhere, then put down a thin coat of Griddle Oil by Caron & Doucet and buff it until the surface looks barely damp rather than wet.
- Store it dry. A pan with standing oil on it goes sticky and rancid between cooks.
Do not soak cast iron, do not put it in a dishwasher, and do not panic about a little soap. Modern dish soap will not destroy a polymerized seasoning layer. Standing water will.
Frequently asked questions
Can I blacken without cast iron? Heavy carbon steel works well. Thin stainless or nonstick does not: stainless does not hold enough heat to survive contact with cold protein, and nonstick coatings are not rated for the temperatures this technique requires and should never be pushed past roughly 500°F.
Is blackened the same as Cajun? Not quite. Most blackening blends lean Cajun in their spice profile, but blackening describes the cooking technique, not the seasoning. You can blacken with a steak rub, a jerk blend, or a barbecue rub, though blends with heavy sugar content will darken faster and need slightly lower heat.
Can I blacken directly on the grates? You can char food on grates, but you cannot really blacken on them. Blackening depends on full flat contact between the crust and the cooking surface. Grates give you contact along a few bars and radiant heat everywhere else, so you get stripes rather than a shell.
How much seasoning is too much? Almost certainly less than you think. Roughly a tablespoon per side on a 4 to 6 ounce portion. If you can still see the color of the meat through the coat, add more.
Why does mine taste burnt when the restaurant version does not? Nine times out of ten it is whole butter, a pan over 550°F, or spent seasoning from a previous batch. Those three account for almost every bitter result.
Can I do this on a flat top griddle instead of a grill? Yes, and it is arguably easier. A flat top gives you a large, even, adjustable surface and the same outdoor ventilation. Set one zone hot for the crust and one zone low for finishing, exactly as you would on a grill.
Does blackening work on frozen fish? It works on properly thawed fish. Thaw fully in the fridge, then dry it aggressively, because previously frozen fillets release more water than fresh ones. Never blacken from frozen.
What do I serve with it? Anything that gives the crust a soft, cool counterpoint. Rice, a slaw with vinegar rather than heavy mayo, grilled corn, or a simple remoulade. Blackened food is intense, and the plate benefits from something plain next to it.
The Flavor Formation BBQ Box is the gameday lineup this technique was built around: the blackening rub that makes the crust, plus three finishers chosen to land on top of it. Five full size items, curated by our pitmasters, shipped free in the U.S.
Get the Flavor Formation BBQ BoxJoin 100,000+ Grill Masters
Get weekly recipes, pro tips, and exclusive deals sent straight to your inbox. Plus your free Pit Card download and 10% off your first order.