Guide: How to Season a New Smoker
Last updated: February 24th, 2022
Prepare Your Smoker for Countless Uses
Congratulations on purchasing your new smoker! You're now on your way to another level of outdoor cooking.
You aren’t going to simply grill. You're going to create meals filled with aromas and flavors that are probably going to surpass those you've savored at barbecues and restaurants.
Because this time, you're the Grill Master.
Jump to: Step-by-Step Smoker Seasoning Instructions

You Can’t Start Cold
Unlike a gas or charcoal grill, you can’t simply coat the cooking surface of your smoker, add kindling, and start things up. There is some prep work to be done.
We advise that you take the time to season your new smoker before using it -- not only to allow for even distribution of the cooking elements, but also to prepare your new culinary investment for many, many years of use.
Shop BBQ Sauces & Rubs
Why Season a New Smoker?
By going through these seasoning steps, you will create a foundation for fantastic barbecue from the first brisket to the last Applewood-smoked chicken. Here are the benefits:
You Remove Unwanted Odors
Throughout the production process, the smoker absorbs odors from paint, adhesives and smells from the manufacturing floor. Without preparation, these odors are absorbed into whatever food is placed inside the smoker (not good).
You Protect Your Smoker from the Elements
Most likely, you won’t move the smoker into the garage or another covered area after each use (although this is ideal, and you should if you can). A proper seasoning will help protect it from the elements and weather extremes.
You Extend the Life of Your Smoker
Your smoker most likely does not come with rust-proofing. Since water and liquids are the main components you'll use to keep your meats and meals from drying up, the humidity and condensation speeds up your smoker’s aging each time you use it. Eventually, rust can and probably will start to form.
That said, seasoning your smoker will create a protective coating that layers its interior surfaces with carbon and smoke. Not only does this allow condensation to drip off, it also cures the paint. It makes your smoker look like new after numerous uses.
Premium Grilling Accessories from the Shop

Step-by-Step Smoker Seasoning Instructions
Properly seasoning your smoker should start at the assembly stage!
Though it seems strange, running through all these steps as you put things together will save time in the end. In addition, it allows you to clean and coat all surfaces.
At the end of the steps outlined below, you're going to do a full run on the smoker, bringing it up to heat as if you were starting a cook, but without any meats inside.
This ensures your seasoning is applied properly to the surfaces of your smoker and provides an extra layer of protection from the compounds and by-products produced by your fire.
1. Clean the Smoker’s Equipment
This includes the interior, racks, grates, and pans!
As for the cleaning solution, some say to simply use water and elbow grease. Others swear by a bit of mild dish soap, which acts as a degreaser. You can also try using a combination of 2 or 3 parts baking soda to 1 part water.
Using a soft cloth to avoid scratching the finish, wash down the equipment. If you're re-seasoning an existing smoker, you'll want to work to remove the oils, build-up and grime created during previous smoking runs.
Regardless of the cleaning/degreaser solution you choose, be sure to remove any remnants of your degreaser by rinsing everything well with warm water.
2. Air Dry All Cleaned Surfaces
Air drying removes any residual odors that cling to the smoker’s surfaces.
Manufacturer’s instructions usually advise you should allow your smoker and its equipment to air dry, as opposed to drying it down with a cloth or similar.
Nevertheless, there are others who do dry the areas with a cloth or towel. Others will use an electric leaf blower to speed up the air dry.
The choice is yours: If you have time, go for the air dry. If you're pressed for time, remove most of the water with your leaf blower, then pat dry with a cloth, towel or sturdy paper towels (cheap ones likely won't work, but you can try).
3. Apply the Oil
Note: If you want to season your smoker for immediate use, forego the vegetable or canola oil. Instead, use something like bacon grease from a prior cook or smoke to infuse its interior with the smells of smoke and meat.
Once completely dry, spray or wipe down the interior areas with a flourless cooking oil of your choosing.
Cooking spray is the most convenient way to ensure all the edges and corners are covered as you put things together. Furthermore, doing this during assembly gives you more room to maneuver and hit spots you might otherwise miss when it's fully assembled.
Note: Don’t apply so much that the extra must be mopped up. Apply a thin and even coat.
When you put everything together, wear rubber gloves and carefully handle the pieces so you don’t remove the coating. Any oil on the smoker’s exterior can simply be rubbed in to give the area an extra dose of water-proofing.
4. Add a Water Pan
Place the water pan in the smoker but leave it empty...or not! It depends how much seasoning you have already done.
Adding another liquid like beer infuses an extra nuance of flavor into your smoker seasoning efforts. However, if you feel it’s enough for the time being, place the pan in there without liquid.
5. Prepare the Cook: Open the Vent & Set the Temperature to Maximum
Most smoker manufacturers will advise to open your vents ahead of a cook cycle for seasoning your smoker.
Others recommend keeping the vent closed.
Do some research on your specific smoker model online AND review your smoker's user manual from the manufacturer and take their suggestions into consideration.
6. Run a Full Cooking Cycle on Your Smoker
Run the smoker for three hours or what your manual determines as a full cooking cycle.
Pro Tip: Apply your choice of wood toward the end of this process to eliminate any remnants of metallic odors.
Note: Before proceeding, be sure to read the rest of the article below to dial in your smoker seasoning process and create a plan.
Try the Ultimate BBQ Experience with our One-time Boxes

Variations in Smoker Seasonings
Oil Options for Seasoning a Smoker
Besides standard cooking oils and bacon grease, many expert pitmasters have other recommendations to coat the smoker’s interior, including:
- Olive Oil
- Sunflower Oil
- Suet (raw beef fat)
- Lard
Wood Options for Seasoning a Smoker
As you would do when smoking a cut of meat or other food item, complete the seasoning process with a mix of woods.
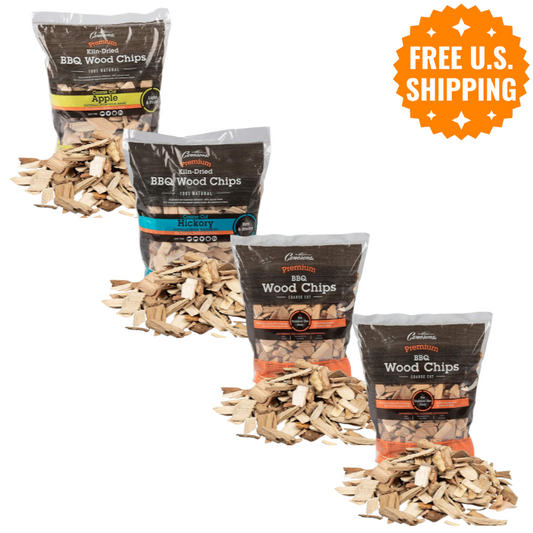
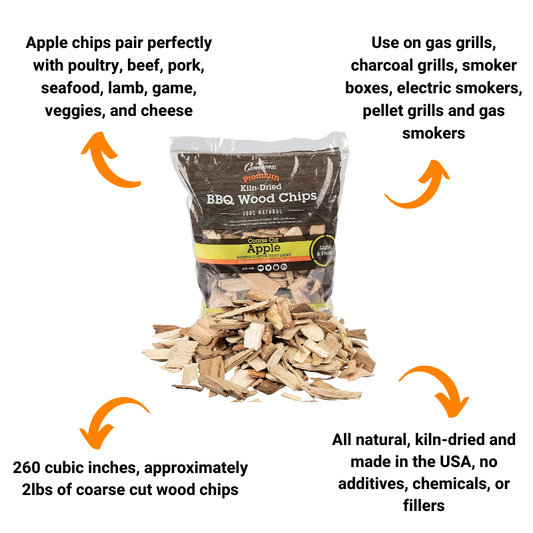
Pitmasters often recommend a combination of hickory or mesquite with fruit woods such as apple or peach when seasoning your smoker.
Initial Heating Instructions
When it comes to the smoker’s initial heating, many experts recommend a slow warm-up to prevent warping of the metal.
For instance, maintain a temperature of 250 degrees Fahrenheit for 4 hours
Then, raise it to 350 degrees Fahrenheit for another 6 hours.
Again, it also depends on your specific smoker. Read your user manual from the manufacturer and do some research in the comments sections of YouTube videos.

Re-Seasoning Your Smoker
There may be a point in the smoker’s use that the build-up of soot or grease on its interior walls starts to change the flavor or moisture levels of your food.
In this situation, you should treat it like it’s a brand-new part of your outdoor cooking gear by repeating the steps outlined above:
- Wash all the interior pieces
- Air dry them
- Re-coat the surfaces with oil or grease
- Heat the smoker up again (to return it to its previous glory!)
That's It!
Remember not to rush -- follow all the steps, make variations where desired or needed, and consider reaching out to other Grill Masters on our Facebook page or Instagram to discuss ideas, strategies and tips for seasoning your smoker.
Now, you’re ready to season your smoker and prepare to start releasing the sweet, sweet aromas of smoked meats throughout your neighborhood.
The time you take will result in meals with fabulous flavor profiles and aromas that are guaranteed to make an impression on every guest!
Read Next: Meat Smoking Guides for Pitmasters
https://grillmastersclub.com/how-to-smoke-ribs/
https://grillmastersclub.com/how-to-smoke-a-brisket/


